Most people who are somewhat familiar with Korean food know the word
bahnchahn (
BAHNchahn) aka
banchan aka
panchan. Bahnchahn is the blanket term for all those little side dishes that come with every meal at a proper Korean restaurant and are the bane of many a Korean housewife's existence. Why? Because even if they no longer have to make it - bahnchahn can now be bought pre-packed or buffet style at any respectable Korean grocery store at very reasonable prices - it still has to be served, several different kinds per meal, each kind to its own dish. Which makes for a bitch of a cleanup compared to a one plate protein/veg/starch, Western/European type setup.
 |
I try to keep the dishes to a minimum, both in
serving and storage. I swear it's a green
thing and not a lazy thing. :) |
There are a few subcategories of bahnchahn, and the one I'm posting about today is
nahmool (NAHmool). Nahmool in bahnchahn speak typically refers to vegetable matter made in more of a fresh (not necessarily raw, but as opposed to pickled or preserved) preparation, and often using leafy greens and sprouts.
There are also several ways to season nahmool. I'm posting this particular simple seasoning today because it's relatively mild, likely familiar to those who have eaten some Korean food, suitable for making
bibim bahp (
BEEbeem BAHP) (which was the intended use this week), and last but certainly not least, because a bunch of friends asked how to prepare it just this way.
 |
Same pic, reverse angle. The stuff on the left is zucchini
prepared in the bokkeum (BOHKkeum), or stir-fried
fashion. That's a topic for another post. |
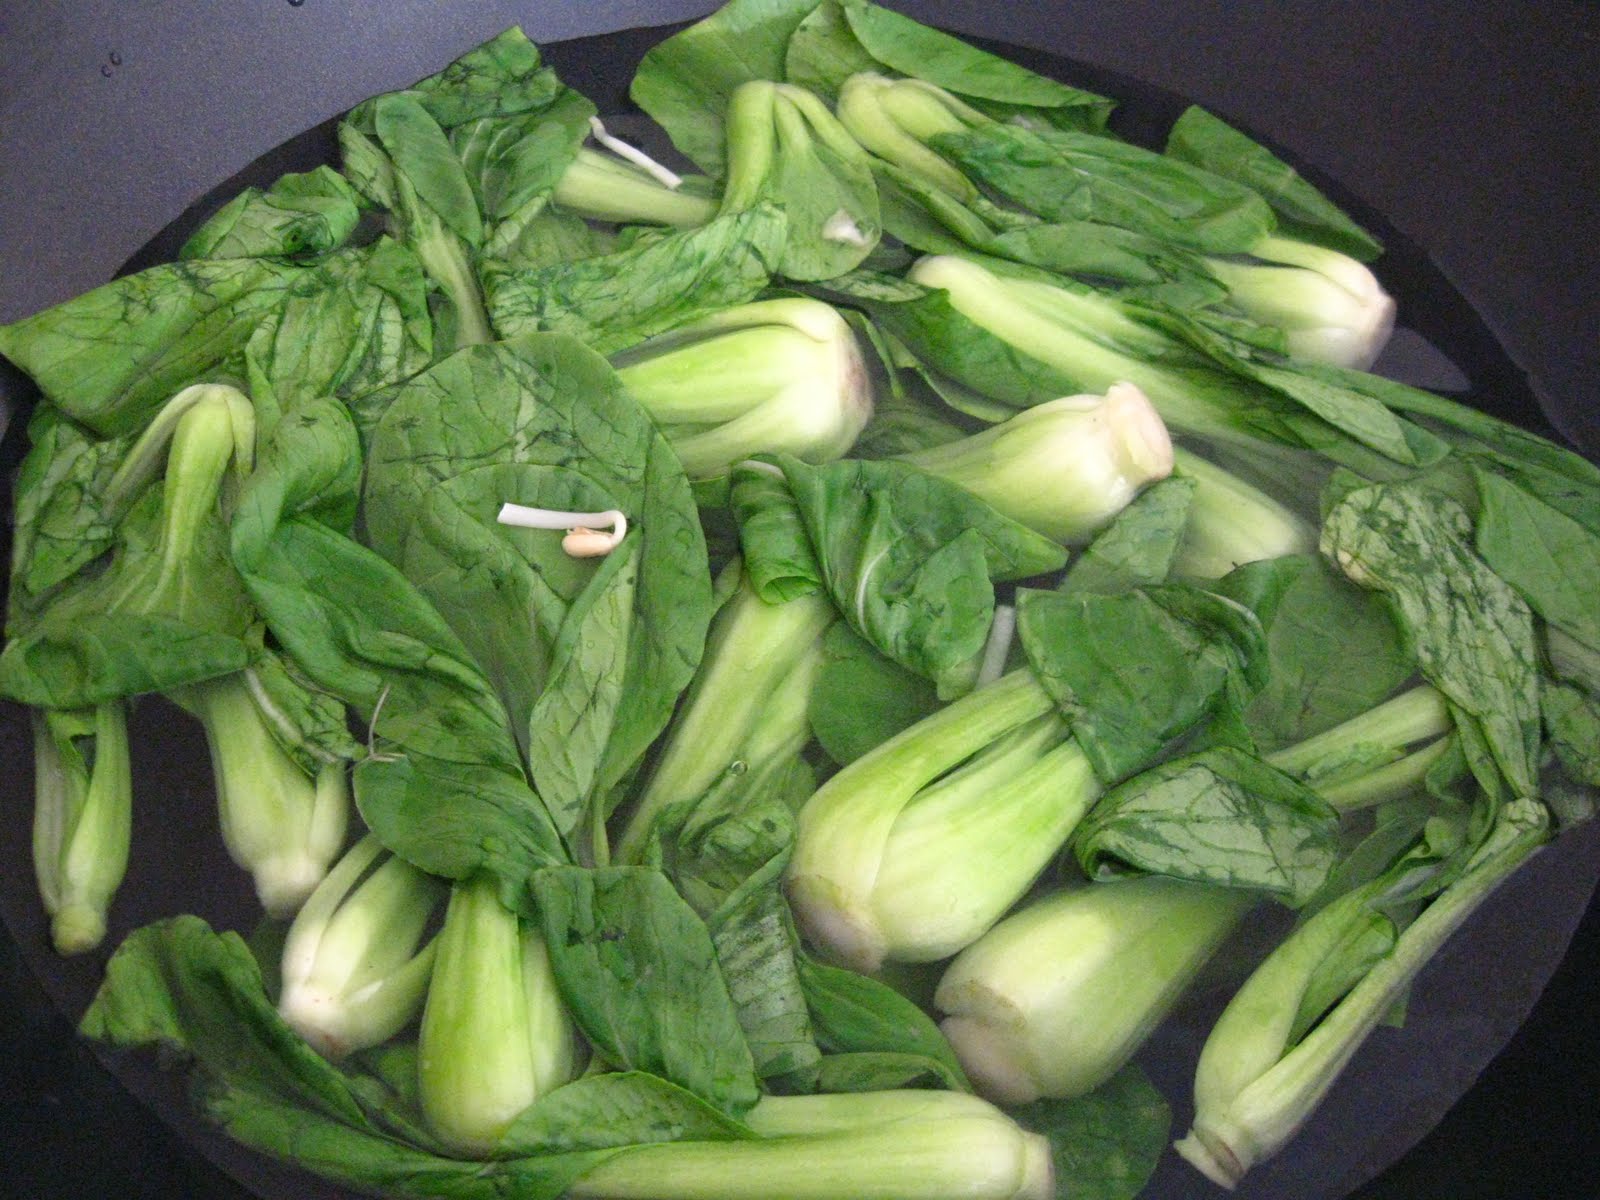
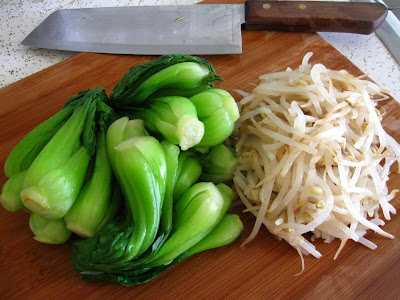
As I mentioned before, certain vegetables just take to this preparation better than others - spinach, soy bean sprouts, mung bean sprouts, even dandelion greens and chrysanthemum leaves are all traditional. Yesterday, I happened to have some leftover baby bok choy (99 Ranch forces you to buy it in quantity) and mung bean sprouts, which also came in a prepacked bag so big it's hard to think of a better way to use them all up. Both of these vegetables have a suitable texture for this preparation.
Though they fall in the category of leafy greens, I wouldn't use dark leafy greens such as kale, collard, beet or turnip greens in this recipe. They're too tough and chewy when blanched for the short amount of time prescribed.
KOREAN VEGETABLE BAHNCHAHN (NAHMOOL)
It's important to remember that this recipe calls for first blanching the vegetables and then squeezing out the excess water before seasoning. For the particularly health conscious, this may seem like a waste of good nutrients, and maybe it is. But it's a thing that must be done to achieve a certain texture. If it makes you feel any better, you could squeeze the liquid into a glass and drink it. Or just eat more nahmool. There - problem solved.
Another thing to keep in mind is that the volume of the vegetables will reduce by anywhere from a third to a half after the blanching and squeezing is done (maybe even a little more with spinach).
Lastly, you can use the same water to blanch all the vegetables you're going to make. Just have a colander and some tongs ready to fish out one batch before putting in another.
These seasoning measurements are for roughly 2 cups of blanched vegetables that have been squeezed of the excess liquid and cut into bite sized pieces. Sprouts don't usually need cutting.
- 1 small clove garlic, minced (about 2/3 teaspoon)
- 1/2 green onion, finely chopped
- 1/2 teaspoon kosher salt (if you're using table salt, use roughly half the amount) OR 1.5 Tablespoons light soy sauce
- 1/2 teaspoon sugar
- 1 teaspoon toasted sesame oil
- 1/2 teaspoon neutral oil
- toasted sesame seeds for garnish (nice to have, but not a biggie if you don't)
1) Bring about 6 cups of water plus 1 teaspoon of salt to a gentle boil. After you put the water on the stove, prepare an ice bath in a large mixing bowl to shock the vegetables after they've been blanched.
2) Prepare your vegetables for blanching. Leafy greens always benefit from a good bath in water to release all the dirt and sand accumulated in the growing process. Spinach can be particularly dirty, especially after a good rain, so make sure to wash the spinach as many times as it takes for your water to run clean. Sprouts don't usually need to be washed.
3) When the water is gently boiling, place your first batch of vegetables in the water. Contrary to popular wisdom, I actually have had no problems putting as much vegetable matter into the pot as the water will cover.
4) Blanch the vegetables until the leafy parts turn a brighter, deeper green and the stalks *just* turn translucent (or in the case of sprouts, until they just turn translucent), no more than 2 or 3 minutes.
If you're making spinach, take it out of the water immediately after it starts to wilt, which is probably no more than 30 seconds. Your vegetables should still have a crunch to them when you take them out of the water.
5) Take the vegetables out of the boiling water, place them immediately in the ice water bath and give them a good swish, letting them shock (essentially stop cooking) and cool for 3 or 4 minutes before removing them to a strainer/colander. You'll want to throw out some of the water and add more ice to keep the shocking water cold.
6) Repeat steps 3 to 5 for the rest of the vegetables and strain in the colander.
7) In fist sized batches, and according to type, *thoroughly* squeeze the excess liquid from the vegetables. This takes 2 or 3 squeezes and is an important step to keep from diluting the seasoning.
 |
Blanched and squozen veg. That's right. I said
SQUOZEN. |
8) Cut into bite sized pieces (1 to 1.5 inches in length), but not the sprouts. We rarely ever cut the sprouts.
9) For every 2 cups of prepared vegetables, add the seasonings listed above and toss to season thoroughly and evenly.
Serve as a side to steamed rice or atop
bibim bahp, which is my favorite way to eat this stuff.
 |
Last night's vegetarian bibim bahp with
dwenjahng instead of gochoojahng. |
 |
Lots of ways to make it. Suggestions and
recipes to follow another day. :) |
That recipe is also in the works, but in the meantime, a quick and dirty bibim bahp might be
- 1.5 cups steamed rice
- 1 cup of nahmool
- 1 over easy egg on top,
- 1.5 tablespoons of soy sauce
- 1 teaspoon of that roasted sesame oil
all mixed together. The mixing part is necessary to bibim bahp, which literally means "mixed rice".
I'm getting super hungry so it's off to make tonight's Thai fish curry.
shinae