Showing posts with label gadgets schmadgets. Show all posts

Friday, May 10, 2013

Gadgets Schmadgets - Kitchen Towel Salad Spinner

When I taught cooking classes, I had a super cool regular client named Kathy with a fabulously tricked out kitchen overlooking the water that I absolutely LOVED cooking in. Kathy was a retired attorney turned budding fiction writer who discovered a love of cooking, and kitchen gadgets, later in life.

I have fond memories of showing her how to steam a whole fish, grill a perfectly medium rare butterflied leg of lamb and cook a Vietnamese dinner for 10, me armed with my apron and a 5 dollar Kiwi cleaver, and she with an armory of gadgets to fill her own little corner of Williams-Sonoma

One of the things I loved about cooking with Kathy is that while she thoroughly enjoyed utilizing her kitchen gadgets, she clearly did not believe they were necessary for good cooking (or she certainly wouldn't have kept hiring me). It's almost as if they fulfilled a separate interest for doodads and mechanisms that was happily coincidental with the making of a meal.

I would roll a lime and cut 4 flat pieces of it around the core before squeezing (because that cut gets more juice out of the fruit than a wedge cut), while she would reach into the drawer for her citrus reamer. I would smash the garlic clove on the cutting board with my cleaver to remove the skin while she would roll it around in her garlic peeler tube thingamajig. I would then mince the garlic with the same cleaver while she worked it through a garlic press.

We had a peaceful coexistence and cooperation in that kitchen despite our diametrically opposed views on the usefulness of most kitchen gadgets. But I have a feeling Kathy might be thoroughly unhappy to cook in my comparatively Spartan kitchen. This is not to say I don't have a handful of gadgets whose purpose I deem unique or efficient but essential and otherwise irreplaceable enough to warrant their purchase (think microplane, food processor, vegetable peeler...). I just steer very clear of single purpose gadgets, particularly those that take lots of room. (Wait, I think I've mentioned this before.)

So while Kathy would break out her futuristic looking stainless steel salad spinner to dry the arugula that was going to top our Delmonico steak, I would be reaching for a clean kitchen towel. Because a clean kitchen towel, in addition to drying hands and dishes, holding a cutting board in place and acting as a makeshift potholder among other things, also makes a most excellent salad spinner which also happens not to take up a whole cubic foot of space in anyone's kitchen.

How To Spin Your Salad In A Dishrag...

1) Place your washed greens in the center of a clean kitchen towel.

spring greens on kitchen towel

2) Gather the sides and corners of the towel and hold them together in your fist so it looks like a beggar's purse. (The fisted technique is essential as any other hold will likely result in airborne salad.)

3) Take that puppy outside, away from windows, and give it a good 50 consecutive whirls in the same direction or until beads of water are no longer flying about your perimeter. This creates the same centrifugal force that a salad spinner would and dries your greens without jostling and damaging them.

4) !Voila! Spun salad, $30+ bucks happily spent (or saved) elsewhere, and a whole cubic foot of storage/counter space better left to things like a blender or your cat.

Did I mention I was...
...ridiculous???

shinae

Thursday, September 29, 2011

100 DOLLARS A WEEK - Day 13 & Something About Knives...

Once upon a time, I went into posh peoples' homes and either catered their private dinner parties or taught them how to cook. And a lot of them had really beautifully outfitted, sprawling kitchens that were a joy to cook in. But no matter where I went, no matter how high end the equipment, no matter how extensive the gadgetry, I always packed these:


My Thai-made Kiwi brand kitchen knives. Lightweight, comfortable, durable, super sharp, and SUPER AFFORDABLE.

If you're a cooking enthusiast, you already know that there is no limit to what you can spend outfitting your kitchen. There are chef's knives out there that cost five hundred dollars a piece (and sometimes more) if you care to spend that much money on your knives. And if you're one of those people with enough money that 500 bucks is really just a drop in the bucket, then I guess it makes sense to buy one of those.  

But I will make no bones about it - my knife skills are solid. And considering how well these roughly FIVE DOLLAR knives have served me over the years, I would as soon treat some friends to sushi and sake with the remaining 490 or so dollars as buy one five hundred dollar chef's knife.

But to put it in more relatable terms - a lot of people buying their first set of nicer knives often look to brands like Chicago Cutlery or Henckels, where you can spend $30 to $100 on a chef's knife. I would rather pay five dollars to be able to use my Kiwi knife than have to use a $30 Chicago Cutlery or $60 Henckels knife for free. Which is not to say that either of those brands isn't good. It's just to say that as a person who has done a LOT of knifework, I much prefer these.

As you know by now, I'm not the kind to encourage anyone to spend money they don't have to. But if you've been working with dull, clunky knives, and you want to keep cooking, and you want to keep getting better at cooking, and you want to ENJOY cooking even more, there are few more worthwhile kitchen investments than a good knife. 

And considering that you can buy the biggest knife in that picture for $6.95 + S&H from places like The Wok Shop, or minus the S&H at your local Asian grocer, I'm going to say that if you don't already have a good and sharp knife, your VERY NEXT kitchen purchase should be one of these.

And if you do, please come back and let me know how much easier your life is because you did. ;)

Now for the meals...

BREAKFAST

Yogurt *buttermilk* pancakes again. Recipe here.


And today, Mrs. Coffee Potato Head, who reminds me a little of Nicole Richie when she wears her Jackie O. shades...


For the flour, egg, milk, yogurt, sugar, salt, baking powder and butter to make the pancakes plus the coffee...

BREAKFAST: $1.00 total

LUNCH

Lunch for the Man is leftovers from last night's sweet potato ravioli dinner and some grapes.


No kale left for me, but five ravioli and probably a handful of grapes as well. And for my PMS salt cravings, I'm probably going to have a few pieces of kimchi somewhere in there. Not with the ravioli, mind you, but at some point.

LUNCH: $1.00 total for grapes and some kimchi.

And I am just bracing myself for the *EWWWWWWWWWWS* to come when I tell you that I'm having Korean style stewed feet of pig for dinner:


But I love the stuff. And dinner will cost right around 5 bucks again, I think. But I'll be back later with the pics and the totals.

Oh, and, tomorrow will be another early shopping day because we're going up to OC again to help my parents move sometime this weekend. I'll probably do my Fresh and Easy milk and grains run, and then possibly hold off on the rest for Shun Fat this weekend.

And I think I want to cut bangs...

shinae

@Next morning (I got wrapped up doing very important things like cringing while watching all the tone deaf *singers* on X Factor):

Dinner was Korean style piggy trotters as planned, stewed with onions, soy sauce, ginger, garlic, rice wine and water.


My favorite soy dipping sauce on the side with an extra splash of vinegar in it because pig and vinegar are a match made in Heaven...


Served with a side of steamed rice and sweet, sour, hot Korean style cukes dressed in salt, sugar, fresh garlic, distilled white vinegar and cayenne pepper.


   3 lbs. of pork feet for $4.50 (3 pounds of straight meat would be way too much for two people, but pork feet are half bones)
+ 1/2 an onion, 1/2 a head of garlic, an inch of ginger root @ $0.20
+ soy sauce, brown sugar, and free rice wine gotten as a gift @ $0.20
+ 2.5 Persian cukes @ $0.40
+ some salt, sugar, vinegar, and a clove of garlic @ $0.20 at most
+ 2 cups of jasmine rice @ $0.80
+ 2 freezer pops we ate after dinner @ $0.10

= DINNER: $6.40 total, $2.15/serving (We have one serving left.)

$8.40 spent for the day. (We'll round up to $9.00.)

Saturday:  $15.00
Sunday:  $23.00
Monday:  $8.00
Tuesday:  $10.00
Wednesday:  $11.00
Thursday:  $9.00

$76.00 spent and one day left to go. This will be another unusual Friday because the kids want to spend the last night they can in their grandparents' old home before we help move them into the new one this weekend. And another wedding this weekend. This time at a park.

When love rains, it pours...

Wednesday, September 28, 2011

Gadgets Schmadgets - Kitchen Towel Salad Spinner...

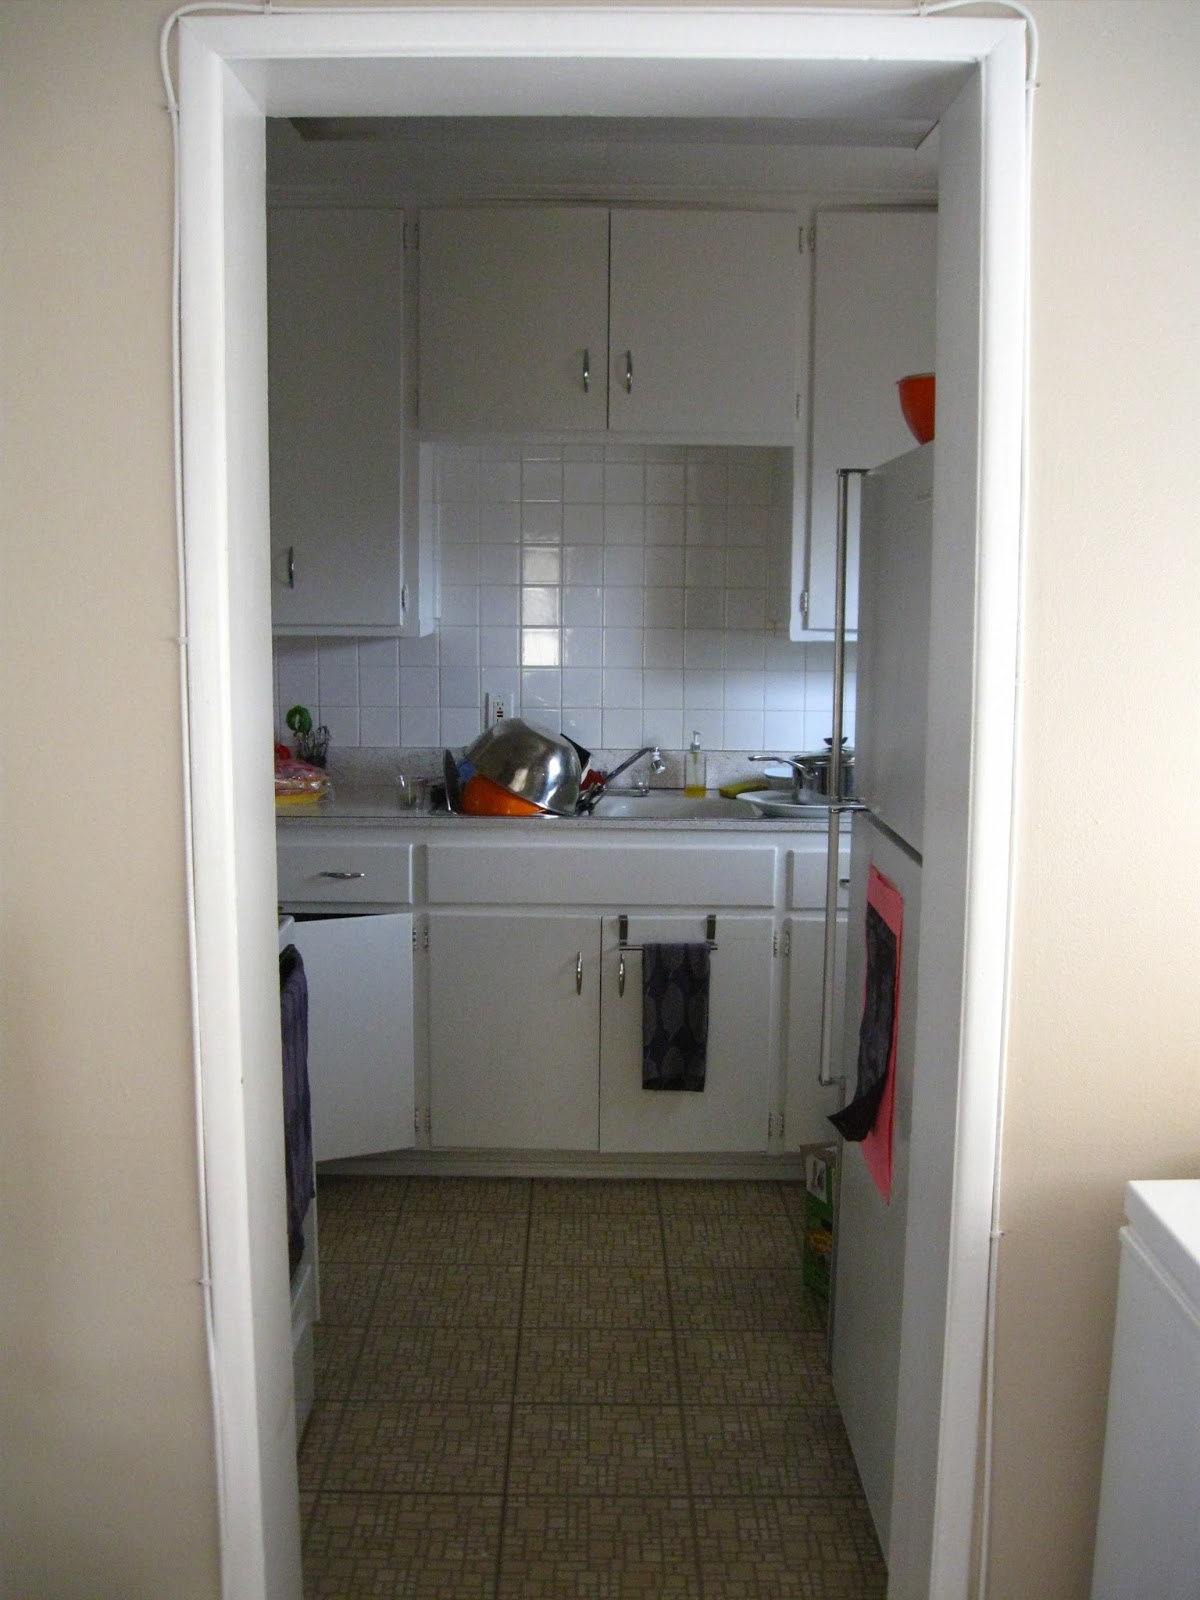
Just look at this kitchen.


Does it look like there's room for a salad spinner???

If you answered YES, you would be INCORRECT. There is no room for a salad spinner. There's barely room for the stove.

And yet a salad spinner serves a useful purpose because who likes their dressing diluted by ubiquitous beads of water? Or, in the case of tonight's dinner, who wants their kale to get steamed when they really want it sauteed?

Lucky for those of us with tiny cooking spaces, some things, like kitchen towels, do double, even triple duty. Today, in addition to drying dishes and standing in for an oven mitt, my kitchen towel stood in as salad spinner.

HOW TO USE YOUR KITCHEN TOWEL AS A SALAD SPINNER

1) Place your washed greens on the center of the towel.


2) Tie diagonal ends together to fashion a handle for yourself.


3) Go outside, away from windows, and using the same centrifugal force that powers an actual salad spinner, spin that satchel of greens like there's no tomorrow until you no longer feel little beads of water hitting your face. (Usually takes anywhere from 50 to 100 really quick spins.)

Also, try to do it when no one's watching.

4) Come back inside, open up your kitchen towel salad spinner and !VOILA! Dry greens. :)

Ok, so there are a few teeny, tiny beads of water,
but that happens with the actual gadget, too...

5) Wring out that towel and let it air dry somewhere.

Back to making ravioli,

shinae

P.S. The Man just told me that the pic makes the kitchen look way bigger than it is. It's not.

Saturday, July 23, 2011

Gadgets Schmadgets - Pots & Splatter Screens As Popcorn Poppers...

Say that ten times fast.

To know me and my teeny tiny kitchen is to know that there's no way I'm going to buy a spacemunching unitasker like a popcorn popper. To be honest, I've never used one, and I'm sure there's probably some validity to claims that it produces superior popcorn. But I'm more inclined to think the quality of the kernel has a greater effect on the overall outcome.

space saving popcorn with just a little salt and butter...

I am aware, however, that popcorn poppers have certain features built into them with the very specific task of popping popcorn in mind, but I choose to believe that I can mostly, if not completely, compensate for those features with a little adaptation.

Enter splatter screen and pot - 5 qt. if I'm popping 1/2 cup of kernels (which is the average sized batch), and a 3.5 qt. if I'm making a half batch. I never pop more than 1/2 cup at a time. There just isn't enough surface area on either pot to pop that much popcorn without burning some of it.

BASIC POPCORN

Just

- put roughly a tablespoon of oil per 1/4 cup of kernels into the appropriate-sized pot,
- stir the kernels to coat them in oil,
- cover the pot with the splatter screen instead of the lid,
- turn the heat just past medium, and
- wait to hear the first pop.


Once the kernels start popping, give the pot an occasional and thorough shimmyshake while holding the splatter screen in place to make sure to redistribute the kernels and ensure the unpopped ones are touching the cooking surface. As is the case with popcorn made in any vessel, microwave included, once the frequency of pops slows down and there's more than a slow one-onethousand second lag between pops, remove it from the heat.

All it takes is one burnt kernel to ruin the entire batch.

Once off the heat,

- push the popcorn over to the sides and
- melt as much butter as desired in the middle of the pot which is still hot enough to melt butter, but not to burn popped popcorn. For me, a tablespoon per 1/4 cup of kernels.
- Stir the popcorn to coat with butter and sprinkle with popcorn salt to taste.

The way I make popcorn salt is just to take some table or kosher salt and give it a whiz in my coffee grinder until it looks like an illegal substance. It's much more effective for seasoning popcorn this way than in granular form, but do be careful. It's much denser therefore much saltier per pinch than the stuff you started with.

You can't get convicted for possession of popcorn salt...

The splatter screen as lid keeps steam from accumulating and sogging up the popcorn. The occasional shake ensures rotation of kernels to get a higher percentage popped.

The result is light, fluffy, crunchy, reliable, and space saving popcorn.


If you want to try something deliciously different, try sprinkling some furikake (feu-ree-KAH-keh) on top and make your own Hurricane Mochi Crunch. ^^

Happy popping,

shinae

Wednesday, March 30, 2011

MacGyver Would Be Proud...

This was last night's dinner.
melted cheez...
A sourdough panino (panini is actually plural) with roasted garlic chicken breast, salami, Swiss cheese, pan roasted tomatoes and Balsamic caramelized onions.  I'm not big on sandwiches for dinner, but we've been stuck with this seemingly bottomless bag of Costco chicken breasts - I'm sure I've made frequent mention of my dislike for chicken breast elsewhere if not here - for what feels like forever, and I've been running out of novel uses for it. (If I don't particularly care for chicken breast, I am grateful for the challenge it presents: how to make yummy out of possibly the most uninteresting cut of protein known to man.)
panini fixins :)
While the notion of a sandwich just screams practical, workaday, utilitarian LUNCH, there is something delightfully elevated about a panino with the buttery crisp of the pressed bread and the unique flavor phenomenon that occurs when salty, savory meats meld with tangy tomatoes, sweet caramelized onions, (and peppery arugula if I'd had it) in that loveliest of goos that is melted cheese. And it can't be achieved by just toasting bread and melting cheese.  No.  It MUST be pressed with sufficient weight (on an oiled OR buttered cooking surface) to bring and bind those fillings together while the bread has a chance to crisp to a dark golden brown that tells you that all the stuff inside is deliciously intertwined.
Golden brown goodness...
The obvious vessel for this job is a panini press, but my sense of practicality extends to a general disdain for most kitchen gadgets, and a particular one for those that don't get used often and take up lots of space. I've heard it suggested, and it stands to reason, that a foil covered brick makes for a good press.  But the only bricks I've got laying around belong to a retaining wall and are so heavy as to render my panino a crepe, so my solution was a stock pot filled a third high with water.
Double Duty Stock Pot
Enough surface area to press 2 panini at once and enough weight to marry the ingredients without turning them into pancake.  Not to mention no loose dirt or mortar should you fail to wrap it properly (or at all).

A couple of these and a bottle of Sam Adams for dinner, one more chicken boob down, two to go, stock pot goes back into the cabinet, and I've still got the same amount of counter space I had yesterday. 
WWMD?
How's them for tricks?

shinae